Hello everyone!
Have you seen the oh-so-adorable
Very Merry Kit from Freckled Fawn yet?! It's perfect for all of your holiday projects and is full of lovely holiday embellishments!
I've been doing a daily album for December for four years now and I have found that I like to prep my album ahead of time so it's easier to keep up with during the hectic holiday month. The Very Merry kit is perfect for this because it includes all the embellishments needed to keep an album simple and stylish at the same time. This album will house all of our "Elf on the Shelf" adventures and photos this year.
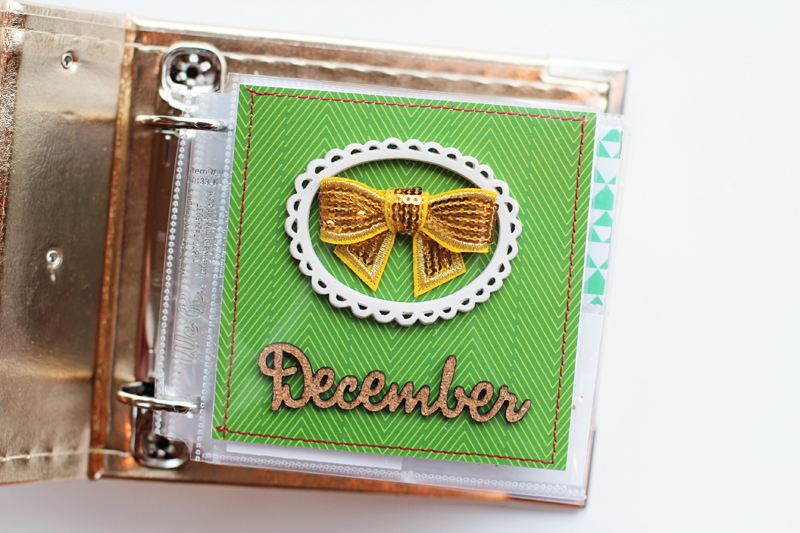
I chose a 4x4 album because I like to switch up my photo and album sizes when I create mini albums. I also thought a smaller album would be easier to work with and more time efficient during the busy holiday month. I arranged the items from the Very Merry Embellishment Kit on my craft table along with some patterned paper pieces from my stash that I cut into 2x2 and 4x4 squares.
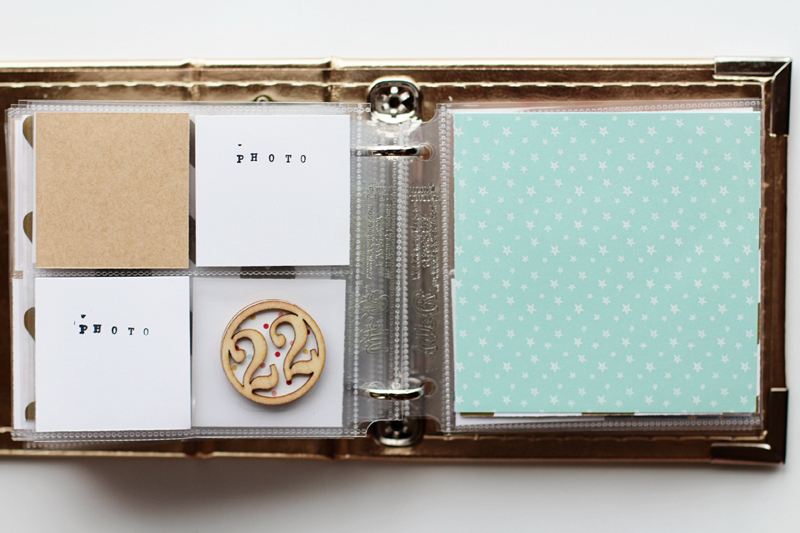
I decided I wanted to keep the wood veneer numbers their natural color in my album. For some color contrast, I used a 1 3/8 circle punch to cut out circles from the patterned paper I chose for my album to back the numbers with. I adhered the punched circles directly to the back of the numbers using tiny Glue Dots. They fit perfectly and no extra trimming was necessary.
I continued with the numbered circles throughout my entire album because they fit so well in the 2x2 pockets. I added "photo" placeholders to my album because I'm a very visual crafter. When December roles around all I'll have to do is print my photos and slip them into their designated pockets making the completion of this album simple and quick.
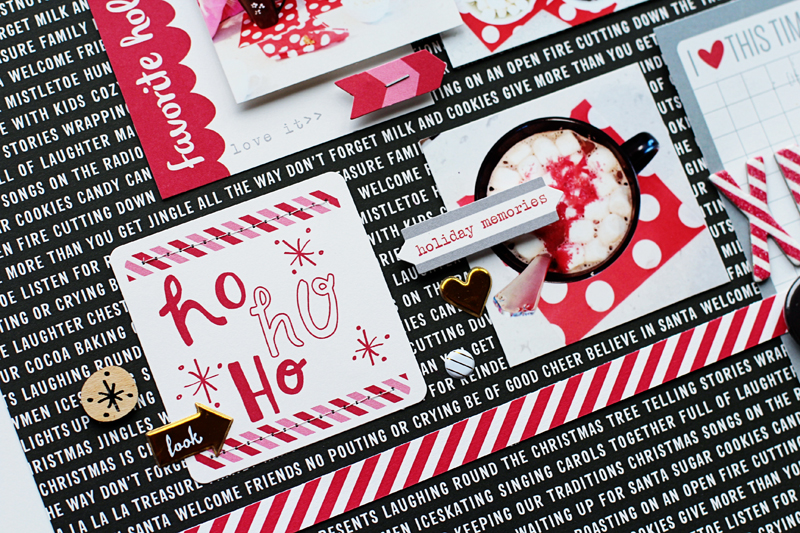
I used some of the tiny rhinestone stars from the kit to fill in the white space of the chipboard tree sticker.
I added a few extra 4x4 pockets to my album so I would have some extra space for larger photos, journaling, or to add extra ephemera from the month's activities. I like to have some extra space when I pre-make an album so I have plenty of room and space for everything I might want to add in the future.
The 2x2 pockets in my album are quite small so the chipboard pieces from the Very Merry kit were perfect for the tiny space. I layered several vellum circles with the round chipboard shapes and slipped them into my album for filler cards. Since I only needed one or two embellishments for a pocket, I stretched the kit supplies much further in my album.
I backed a few of the wood veneer numbers in my album with some of the gold foil label stickers. I plan on adding more of the stickers when I print my photos and journal in my album in December.
The rhinestone stars fit perfectly in the cork tree shape that is also available in the kit.
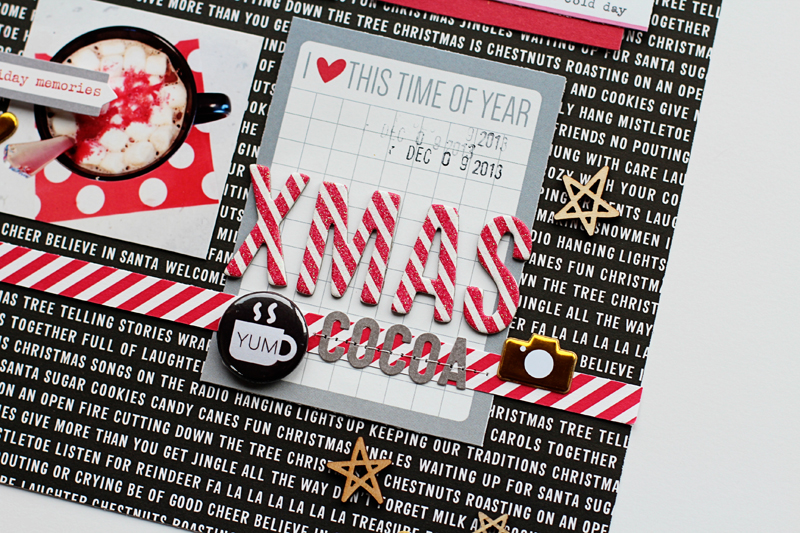
I added some strips of the thin gold star washi tape to the red and white striped square of patterned paper in the photo below to coordinate with the gold foil label stickers.
I kept my album simple and minimal, but I still have lots of room to add in extra embellishments during December. I usually only take a photo a day during the month of December, but if I have to add more photos or journaling I can easily rearrange some of the filler cards to accommodate the change.
The cork ornament shape fit perfectly behind the number "19" so I layered a piece of patterned paper behind it to coordinate with my page spread.
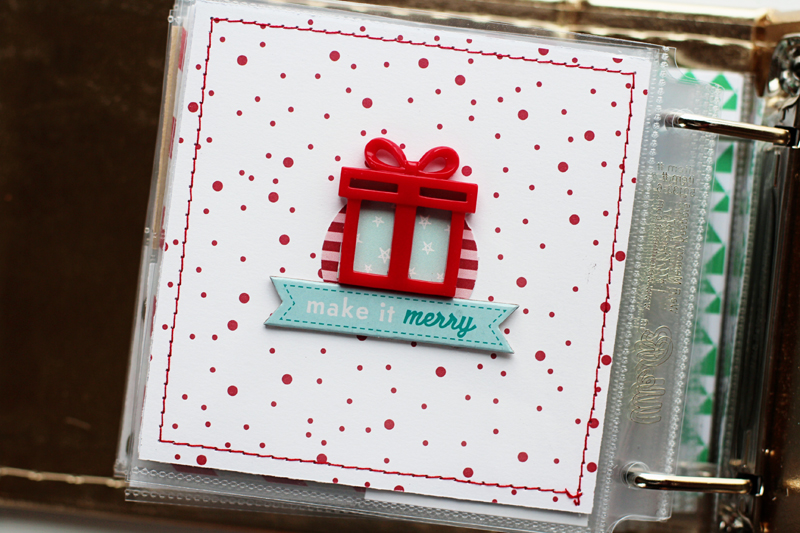
For the last page of my album I layered a piece of patterned paper under the red resin present and layered it on top of a leftover punched circle for contrast. I still have several embellishments from the kit left that I can add to my album during December when I add my photos and journaling to my pages.
I hope I've inspired you to use the contents of your
Very Merry Embellishment Kit in several different ways. If you decide to create a December album, the kit will compliment any style and help make your album come together easily.
Have a great day! TFL!