4.27.2017

Here With You Always *Shimmerz Paints*

Hello, crafty friends! I'm here today sharing my latest 12x12 layout that I created using some gorgeous Shimmerz paints! 


I started by choosing some of my favorite Coloringz inks in "Don't Citron Me", "Mamma Sings the Blues", and "Mandarin Mai Tai" and used the packaging technique to create the background for my layout.  I simply misted these Coloringz on some leftover plastic packaging and smeared them around  some white cardstock as you can see in the photo below.


After the Coloringz dried, I used a triangle stencil from my stash and some Dazzlerz shimmering dimensional paste in "Red-iculous" for even more texture and color.


Next up, I added lots of patterned paper pieces and die cut embellishments from Pinkfresh Studio because the colors coordinated so well with my photo and the Coloringz inks.


I love how fun this page turned out with the silly photo of my youngest son and his blue mustache he got out of a vending machine at a local Mexican restaurant, lol!


Thanks so much for joining me and I hope you have a fabulous day!


4.24.2017

A Little Life Update...

Hello, crafty friends! 

I just wanted to jump on here and give you a little update about a new adventure I'm about to embark on. Six weeks ago I took a big leap and signed up to be a LuLaRoe Fashion Consultant. If you've never heard of LuLaRoe, here's a little bit of info about the company...


If you have heard of it then you know exactly how amazing and how big of a deal this is. I'm very excited about this new adventure and I still have a few weeks left in the queue. I've been really busy getting everything ready to receive my initial inventory, but I'm still going to continue paper crafting and blogging, just not quite as much ;)

I promise I won't flood this blog with LuLaRoe happenings and events, but I will have a link to my VIP Facebook group on the sidebar of this blog if you're interested in shopping with me. Right now, I have my first giveaway up on my Facebook business page so here's a link if you're interested... 


You can also find me on -  

Instagram - @lularoeadriennealvis

                                      
Periscope - @lularoeadriennealvis

Thank you for your support and if you have any questions, please do not hesitate to contact me! I hope you have a fabulous day! 
                                       

4.11.2017

Ready To Ride *Shimmerz Paints*

Hello, everyone! 

I shared this layout that I created using some Dazzlerz, Coloringz, and Vibez on the Shimmerz blog yesterday...


When I begin a layout design, I usually start with some sort of color scheme that coordinates with the photo/photos that I've already chosen to use. I also think about what types of Shimmerz paints will accent or enhance my layout the best, so for today I grabbed several Coloringz inks in Don't Citron Me, Heidi Ho Blue, Well Blue Me Down, and Night Moves and I also used Jeni B Blue in the Vibez spray ink. I love using Coloringz because they are highly pigmented and non-shimmering which works very well with the theme of my page.


I created the "painted" strips that I placed along the same diagonal stripes of the patterned paper by using a cut file as a mask. I simply placed the cardstock with the cut file on top of another piece of white cardstock and misted the various Coloringz inks on it, except for the Night Moves which I used to alter the wood veneer stars that I placed on my page as added embellishments. While I waited for the strips to dry, I used a star stencil from my stash and some Dazzlerz shimmering dimensional paste in Gummy Berry Blue to accent the patterned paper and to add another pop of color. 


I fussy-cut the misted strips out from the cardstock after the Coloringz and Vibez dried and machine- stitched them down in the same direction as the stripes on the patterned paper print to enhance it. I really love the effect the misted strips give my page! 


I also fussy-cut a few larger stars out of another piece of patterned paper after I had used a stencil and the Dazzlerz paste to coordinate with the black and white elements on my layout. I adhered the stars to my page using some foam dimensional adhesive and also placed several wood veneer stars around them which I altered using some Coloringz spray ink in Night Moves.


I hope I've inspired you to grab some Shimmerz and use them to enhance one of your favorite pieces of patterned paper for your next project! 

Thanks so much for joining me and I hope you have a great day! 


4.09.2017

Live For The Moment *Pinkfresh Studio*

Hello, everyone!

I shared these two layouts on the Pinkfresh Studio blog that I created using Live More, Dream On, and The Mix No.1, which are the their newest collections. All of these collections work so well together and make it easy to create some really great projects for any theme or season!

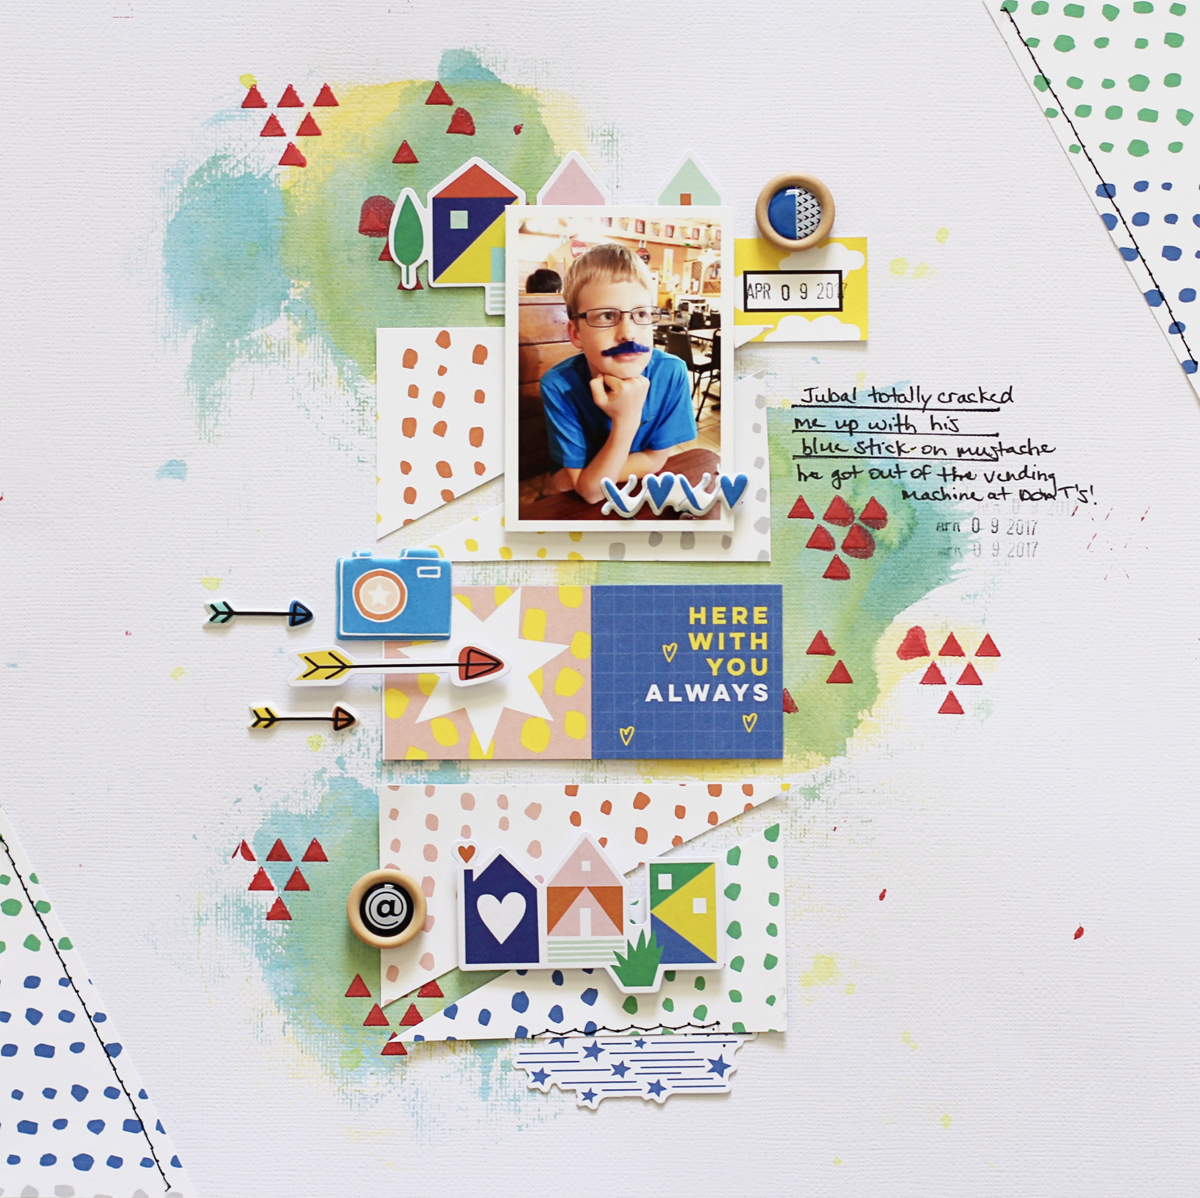
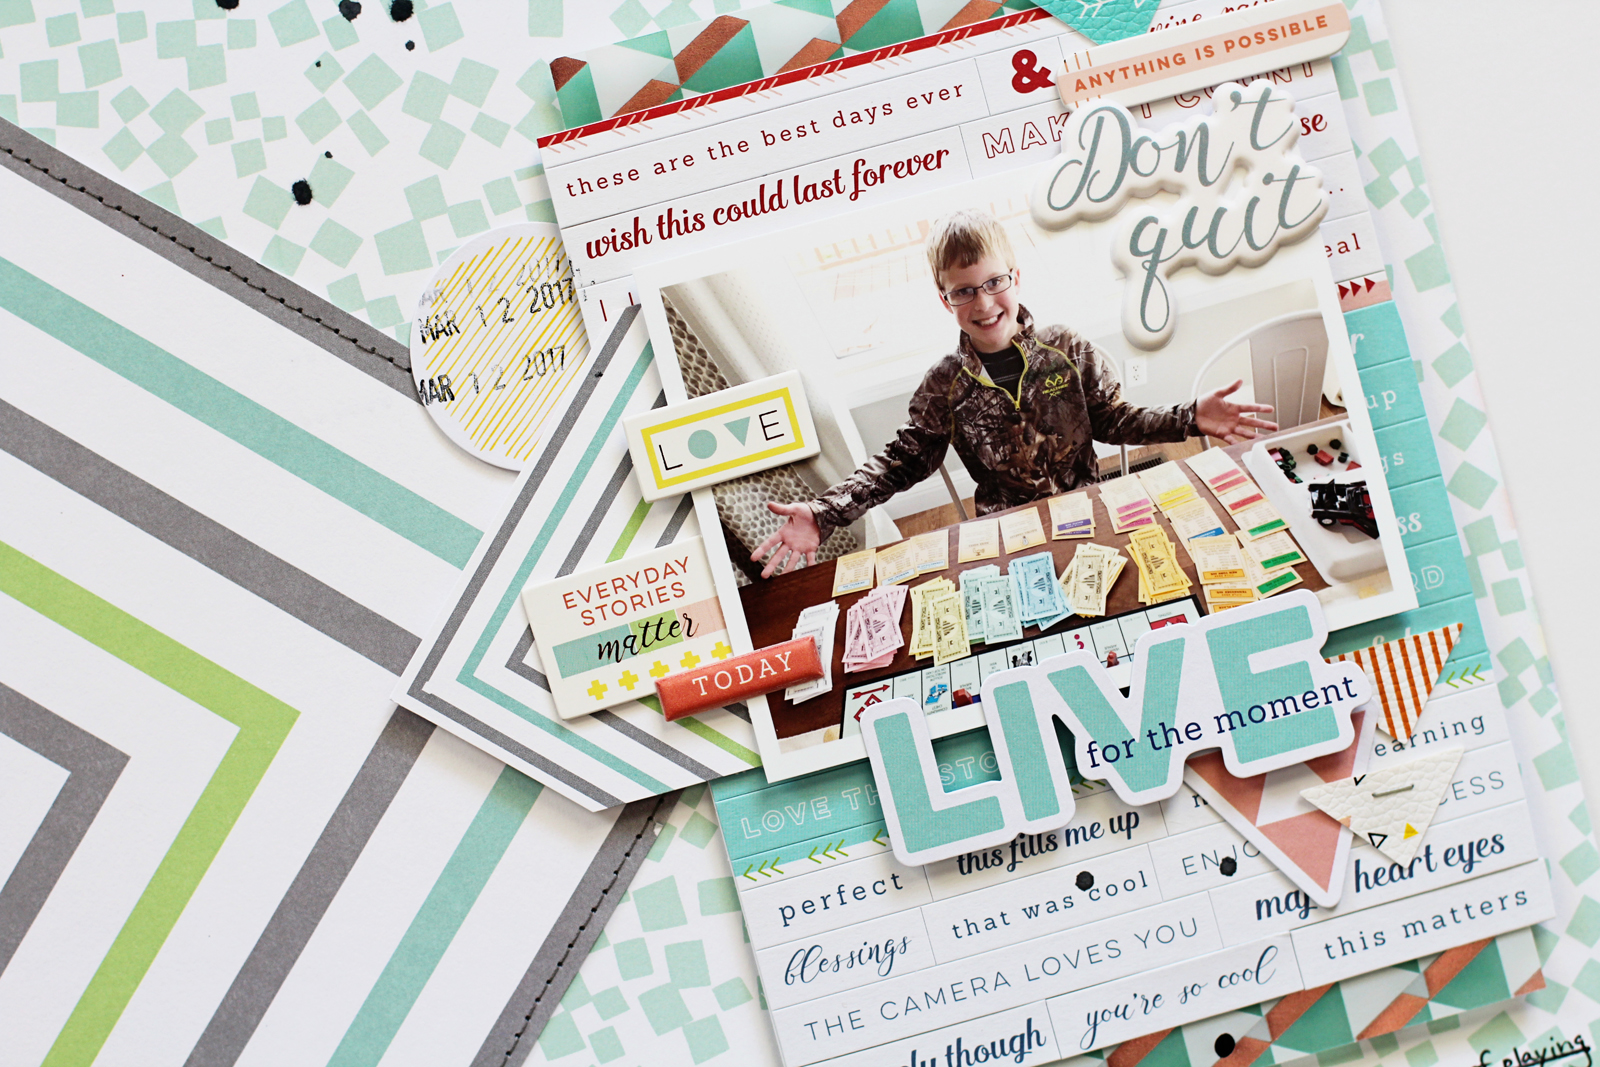
For my first layout, I used patterned papers from both the Dream On and Live More collections for the base of my page...


I cut out the striped patterned paper from the Live More collection and machine stitched around the edges before I adhered it to the scattered square patterned paper from the Dream On collection. I layered the photo of my son winning at a family game of Monopoly directly onto one of the sheets of phrase stickers from The Mix No.1 collection. I also placed some of the aqua and rose gold vellum behind the sentiment sheet for added dimension and color and layered a few of the layered chipboard stickers and puffy stickers from the Live More collection directly on my photo.


I adhered one of the die cut phrases from the Live More collection near the bottom of my photo for my title using a few foam adhesive dots. I also layered a couple of the leatherette stickers from the Live More collection under my title for added color contrast. I clustered lots of embellishments around my photo to help visually balance out the stripes on the left side of my page and I love how they help draw the eye towards my photo.


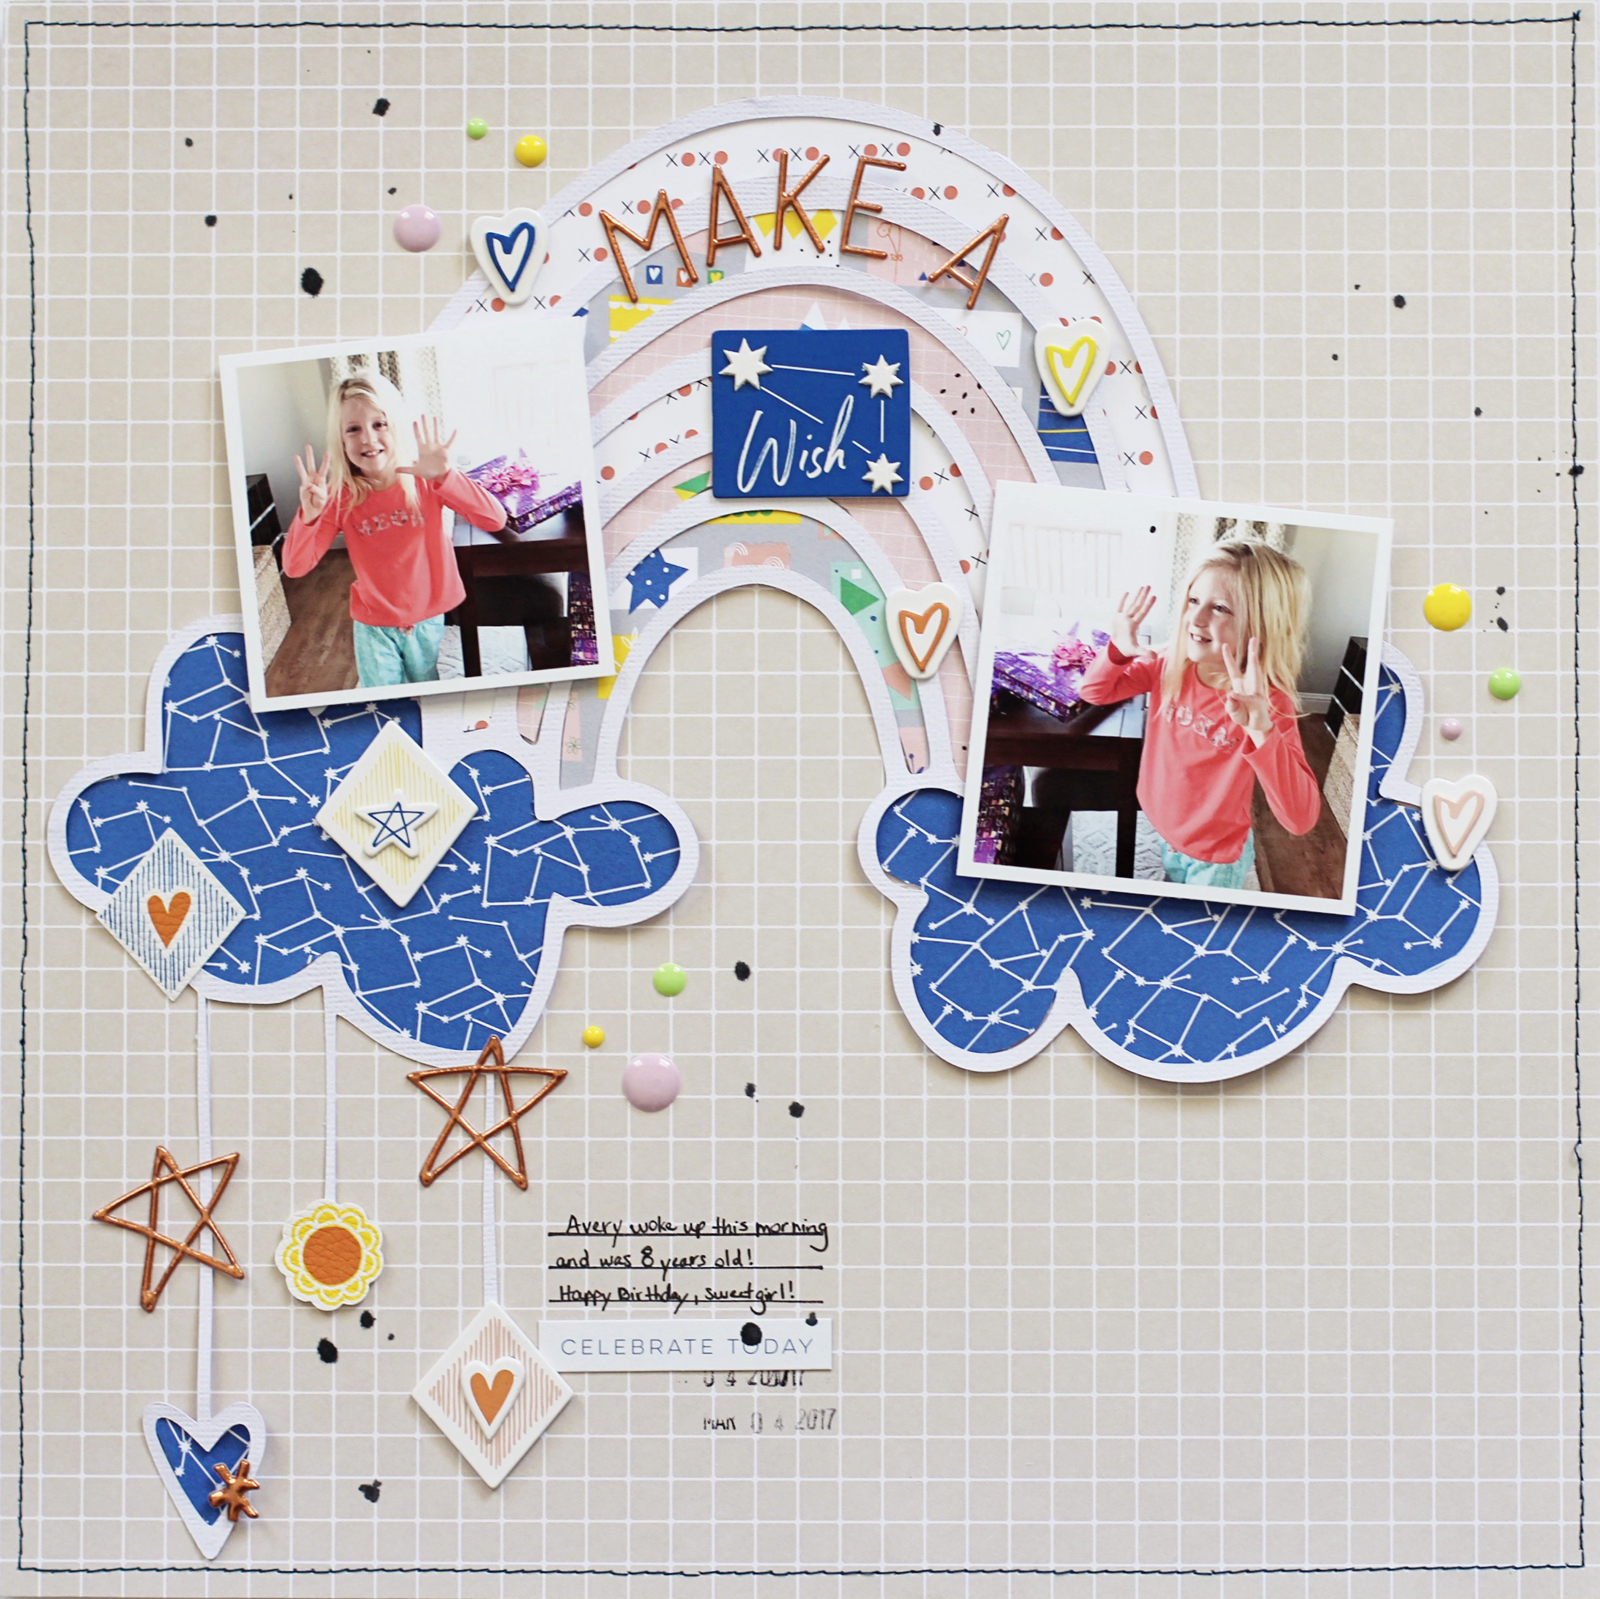
For this next layout, I used patterned papers from the Dream On and Live More collections. I started by placing the rainbow and cloud cut file in the center of my page and layered several different patterned papers from the 6x6 paper pads from both of the collections underneath to create the stripes. I layered the beautiful rose gold puffy letter stickers from the Live More collection near the top of the rainbow to create my title.


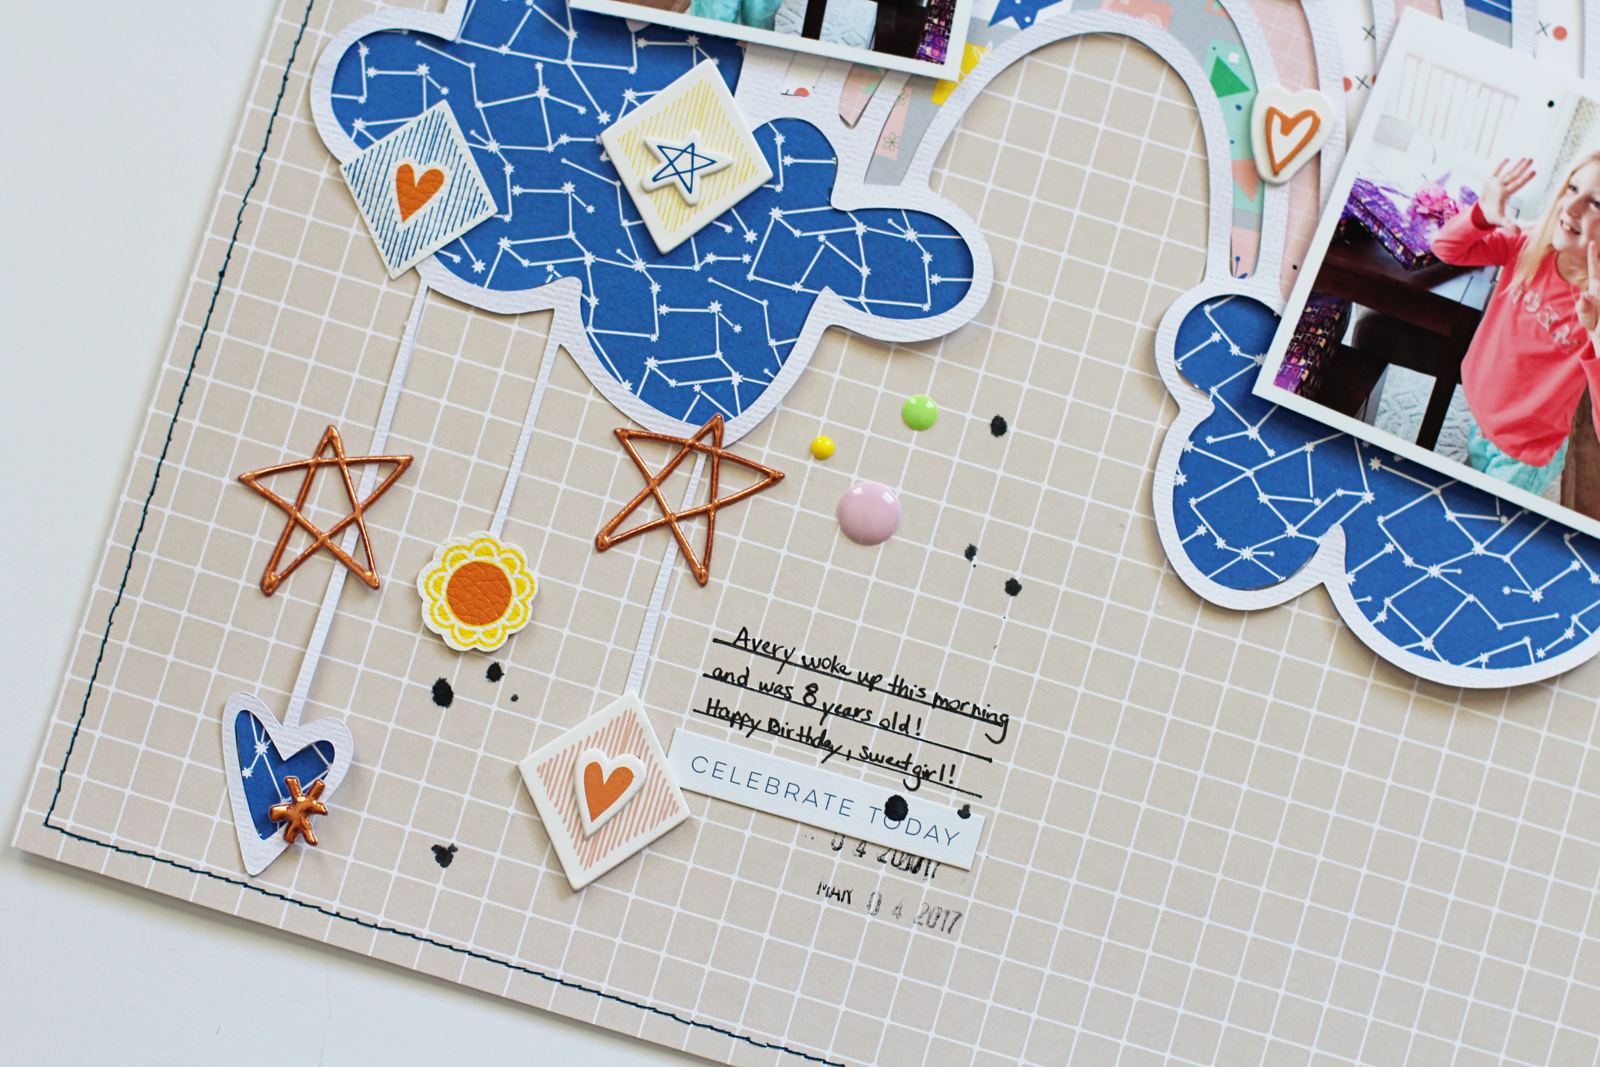
I placed the photos of my daughter on the morning of her eighth birthday on top of the clouds and added several of the leatherette stickers from the Dream On collection around the clouds. I also placed several of the enamel dots from The Mix No.1 collection around my page as well to help add color and some extra dimension.


One of my favorite items from the collections are the layered chipboard stickers! I used the "wish" layered sticker as part of my title and then scattered a few of the heart shaped stickers around my title and around my page.


Have you used any of these lovely collections on recent projects? What's your favorite embellishment, patterned paper, or collection? I seriously love them all and couldn't quite possibly pick a favorite! I hope I've inspired you to mix up the collections and create something fabulous.

Thanks for joining me and I hope you have a wonderful day!